Always be prepared! Tips for building your 72-hour emergency kit and emergency plan
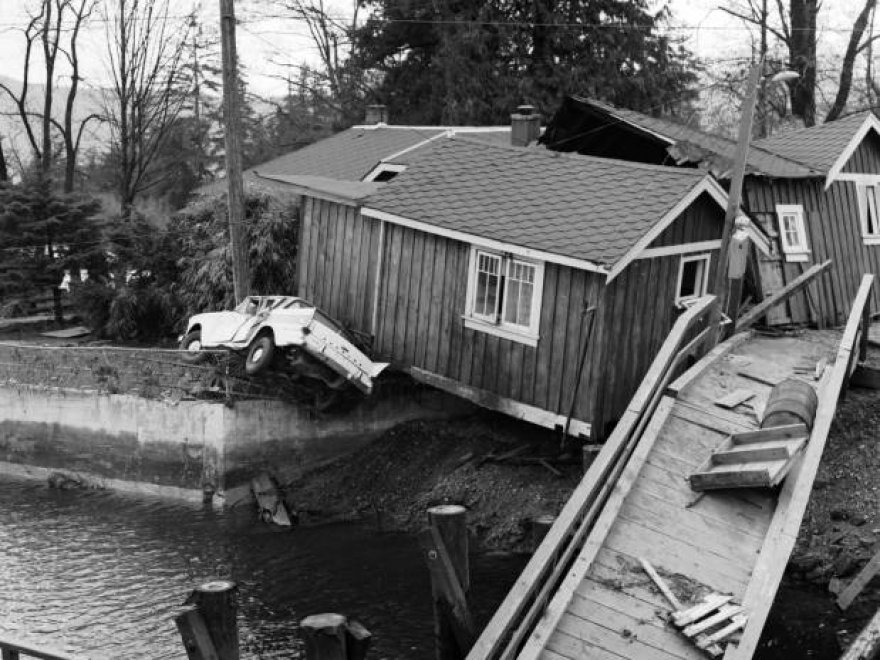
It’s easy to forget when we’re busy enjoying the beautiful scenery in the Alberni Valley that we also live in earthquake and tsunami country. On Jan 23rd, we all received not only a frightening wake-up call in the middle of the night, but also a reminder that a lot of us just aren’t well prepared for an emergency.
An emergency plan and 72-hour emergency kit might seem like a waste of time and money to some, and a morbid outlook to others, but for most of us it’s simply a sensible thing to have in place, and hopefully never use. So, after our rude reminder courtesy of a 7.9 earthquake off the coast of Alaska in the early hours of the morning, let’s look at some tips to help you be better prepared.
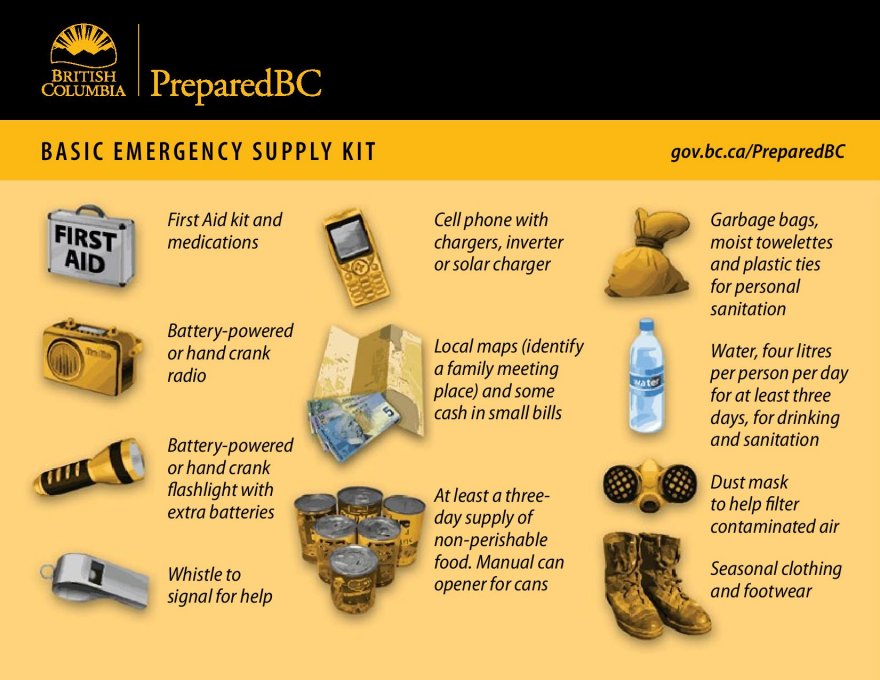
1.Download and print off a list of essential items for your emergency kit.
Not only will this help you put your kit together, but it’ll also help you keep your kit up to date each year.
Visit https://www.getprepared.gc.ca to download guides to help you.
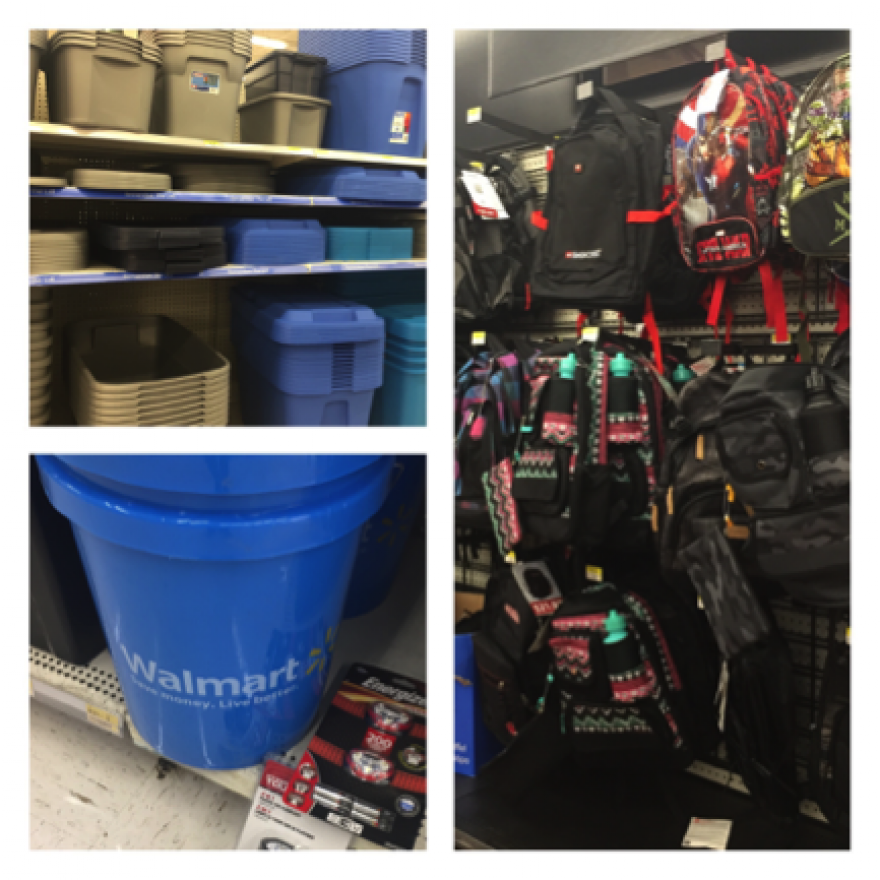
2. Ease the cost of building your emergency kit.
Many items can be found at your local dollar store or outdoors store; you can find these items at Canadian Tire and Walmart for much cheaper than the ready-made kits available online.
You can also spread the cost by building your kit slowly over a few weeks or months. Add extra rolls of paper towel or extra cans of soup when you do your weekly shopping to make the cost easier to deal with.
Items that are worth spending money on are:
- Crank/solar-powered radio
- Flashlight
- Water filter systems
3. Make your kit accessible and easy to carry.
There are many ways to box up your kit. The most effective way is to create a backpack for each family member containing things like the list below, so it’s easy to carry and lightens the load for each household member.
- Change of clothes
- Hard soled shoes (there would be lots of glass in an earthquake!)
- Snacks and water
Then use a sealable tote or bucket to store common emergency items like:
- Toilet paper
- Crank/solar-powered radio and charger
- Non-perishable food and water filter supplies
4.Don’t forget about your pets!
If you’ll be taking your pets with you, make sure to pack food, toys and a leash. If you think you’ll be leaving them at home, make a quick note to open a door or window on your emergency plan, so your pets have a way to escape should the worst happen.
5.Include some home comforts!
Toys and games for kids will help ease their worries in an emergency situation and keep them busy. Photographs of family and pets, not only aid in comforting the family in stressful situations, but are also useful to find family members should anyone get separated.
6. Have an emergency contact far outside of the emergency zone.
This allows everyone in your family (close and extended) to check in with the same person who won’t be affected by the evacuation. Your emergency contact can then keep track of everyone and ease your worries should anyone in your family not be available.
7.Have an emergency kit in your vehicle when you travel.
Whether you’re on vacation or just spend a lot of time in your car, it pays to have a small kit available just in case. Not only is this useful for emergency situations but can also be valuable should you break down. If you’re not from the area, make sure to find out what local emergency sirens sound like just in case they go off while you’re visiting.
8.Plan your evacuation route!
Especially if you’re in the Tsunami zone, it pays to know exactly what route to follow in case of emergency. It’s also wise to always keep at least half a tank of gas in your vehicle and know which vehicle you’d be taking if you have more than one.
With a little bit of planning, emergency evacuations needn’t be quite so scary or stressful. Implement these tips and the next time the siren goes off, you’ll know exactly what to do.
- 143 reads